



How to Change Oil: Step-by-Step Guide to Changing Engine Oil at Home
Keeping your car in good shape doesn’t have to cost a lot. Doing routine maintenance yourself can be a rewarding experience. It builds your confidence in working on your car and saves you money on shop fees.
This step by step guide to change engine oil at home is easy to follow. It’s perfect for every car owner. We make it simple, even for beginners. If you have any questions, just contact our team.
Looking after your car is a smart choice. With the right tools and patience, you can do basic upkeep easily. Let’s show you how to keep your car running well.
Key Takeaways
- Doing your own maintenance saves a lot of money.
- Regularly changing fluids helps your car last longer.
- Always prioritize safety when working under your car.
- Properly disposing of used fluids helps the environment.
- Learning these skills lets you handle more repairs yourself.
Introduction to Changing Engine Oil
Learning to change your car’s oil is empowering. It’s a key skill that makes you more than just a car owner. By doing it yourself, you give your engine the best care.
Importance of Regular Oil Changes
Engine oil is vital for your car. It keeps moving parts running smoothly and prevents damage. But, it gets dirty over time and needs to be changed.
Regular oil changes keep your engine running well. They help your car last longer and save you money on repairs. Remember, a little prevention can save a lot of trouble.
Benefits of DIY Oil Change
Doing a DIY oil change has many benefits. You can choose the best oil for your car. This ensures your engine gets top-notch care.
Changing your oil yourself is also efficient. Here are some key advantages:
- Cost Savings: You skip the labor fees of professional shops.
- Convenience: You do it when you want, without waiting.
- Time Efficiency: It usually takes just 30 to 60 minutes.
What You’ll Learn in This Guide
This guide will teach you how to do your first oil change at home. We make complex steps easy to follow.
By the end, you’ll be confident in your ability to care for your engine. We focus on safety and the right techniques for a successful DIY oil change.
Tools and Materials Needed
Starting with the right supplies is key to a smooth maintenance experience. A good engine oil change tutorial keeps you organized and safe. Make sure you have everything before you start, so you don’t have to make extra trips to the store.
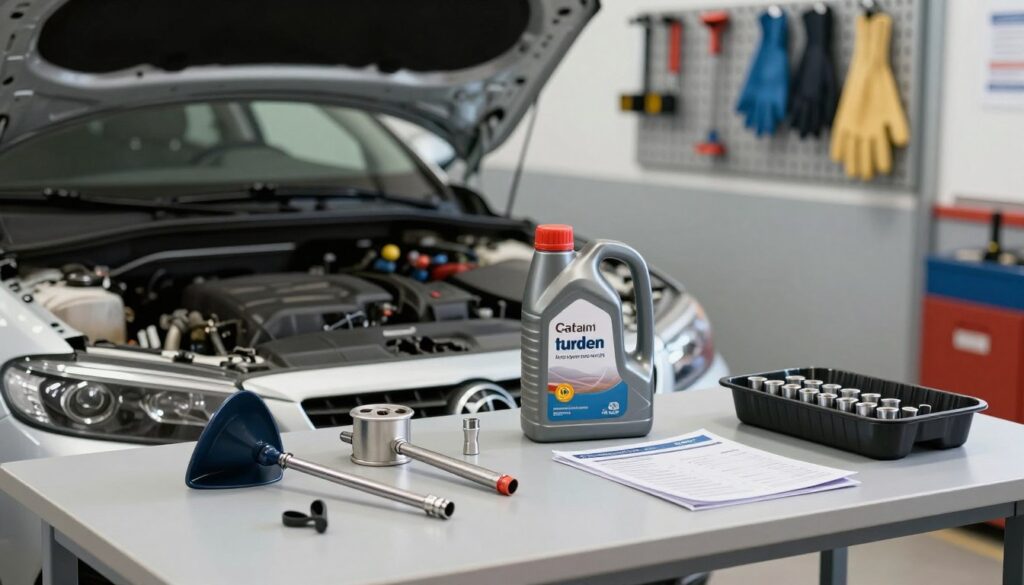
Essential Tools for Oil Change
You’ll need a few specific tools for this job. A high-quality wrench set, an oil filter wrench, and durable nitrile gloves are must-haves. Also, sturdy jack stands are essential if you need to lift the car to get to the drain plug.
Types of Engine Oil
Choosing the right oil is critical for your engine’s health. Check your owner’s manual to find out what viscosity grade your car needs. Whether it’s conventional, synthetic blend, or full synthetic oil, make sure it meets the manufacturer’s standards. This helps keep your engine oil replacement schedule on track.
Oil Filters and Their Importance
The oil filter is your engine’s first line of defense against dirt and debris. It’s important to use a high-quality filter for effective filtration and protection. A low-cost filter might not last long, which could harm your engine’s internal parts.
| Tool or Material | Primary Function | Recommendation |
|---|---|---|
| Oil Filter Wrench | Removing the old filter | Adjustable metal band |
| Nitrile Gloves | Hand protection | Heavy-duty thickness |
| Jack Stands | Vehicle support | Rated for vehicle weight |
| Synthetic Oil | Engine lubrication | Check owner’s manual |
Preparing for the Oil Change
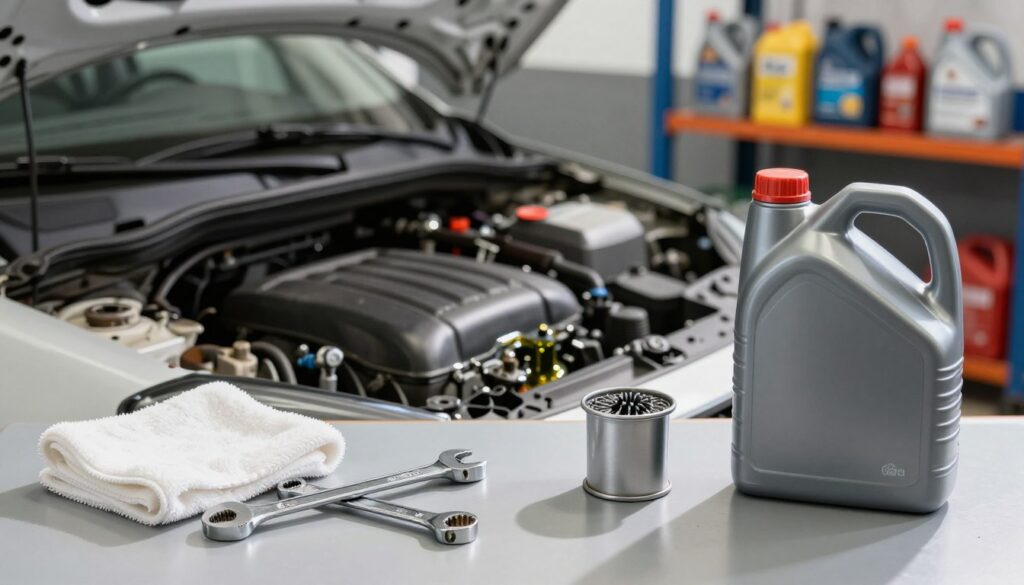
Having a well-prepared workspace is key to doing your vehicle maintenance smoothly. Before starting this engine oil change tutorial, make sure you know all about your car. This includes details specific to your vehicle model.
Safety Precautions
When working under a vehicle, safety comes first. Always check your owner’s manual or use a VIN decoder to find out your car’s engine size and oil needs. Never work on a hot engine, as the oil can burn you badly.
Wear proper eye protection and gloves to protect yourself from harmful particles. If you’re looking for the best SUVs 2026, keeping up with maintenance will help your car last longer.
Choosing the Right Location
Choosing the right place is essential for a successful engine oil change tutorial. You need a flat, level, and stable surface to keep the vehicle steady.
Don’t work on grass, gravel, or sloped driveways because they’re not stable for jack stands. A concrete garage floor or a paved driveway is best for keeping your vehicle stable while you work underneath it.
Gather Your Materials
Being organized helps avoid frustration during maintenance. Before starting your engine oil change tutorial, have all your tools ready. This includes your wrench, oil filter, and drain pan.
Having everything ready lets you focus on the task. Proper preparation means you can finish the job quickly without looking for missing items.
Draining the Old Oil
First, make sure your vehicle is secure. Then, we remove the old oil. This step is key for your engine’s health. It gets rid of dirt that builds up over time. We need to be careful and patient to do it right.
Steps to Locate the Oil Drain Plug
Slide under your car and find the oil pan. It’s at the bottom of the engine. Look for the drain plug, which is at the lowest point. Always check your owner’s manual if you can’t find it.
Removing the Drain Plug Safely
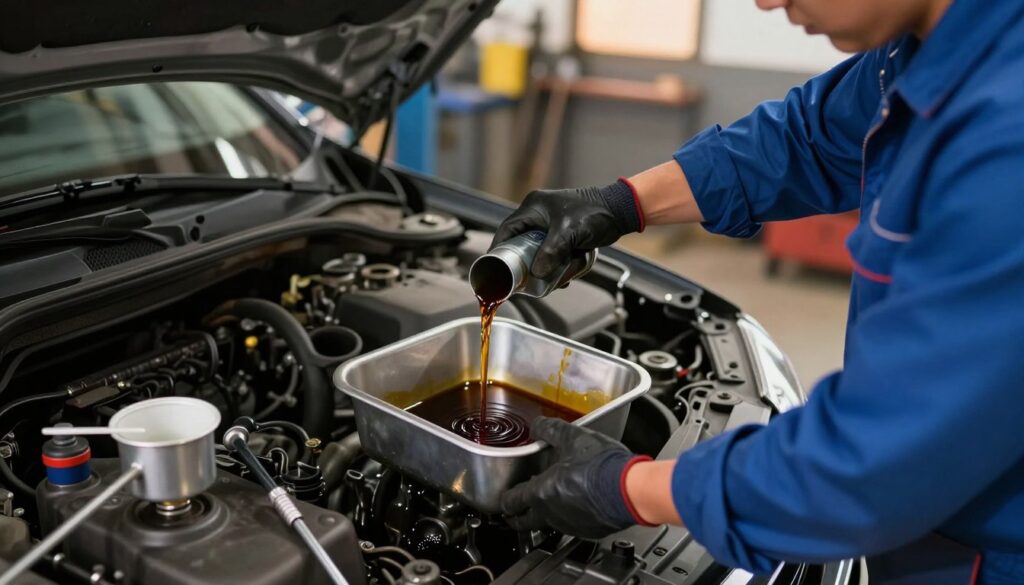
Put your drain pan under the oil pan before you start. Use the right wrench to turn the plug counterclockwise. Be ready for the oil to flow fast. Keep your hands away from the oil to avoid burns.
Allowing Oil to Fully Drain
Let the oil drain completely into your pan. This step is important. It makes sure no dirty oil mixes with the new oil. Once the dripping stops, you can move on to the next step.
Replacing the Oil Filter
Replacing the oil filter is key to keeping your engine safe from dirt. It traps debris in the system, keeping the oil clean. This helps maintain the right oil pressure and keeps your car running longer.
Tools for Oil Filter Removal
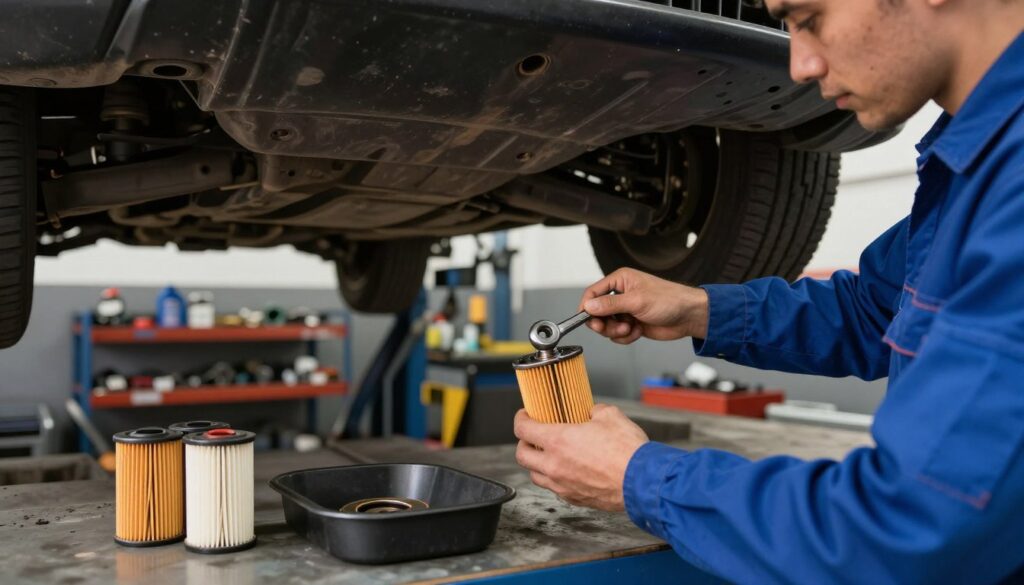
To take out the old filter, we use a special oil filter wrench. These tools come in different types, like strap wrenches or socket-style caps. Always keep a drain pan positioned underneath to catch any oil spills.
Choosing the Correct Oil Filter
Picking the right filter is critical for a good step by step oil change. Check your owner’s manual or use an online parts lookup tool to find the correct part number. A high-quality filter ensures your engine gets the best protection.
| Filter Type | Material | Best Use |
|---|---|---|
| Cellulose | Paper-based | Standard driving |
| Synthetic | Fiberglass/Poly | Extended intervals |
| Magnetic | Metal core | High-performance |
Installing the New Oil Filter
Before putting in the new filter, check if the old gasket stuck to the engine. If it did, it could cause oil leaks. We then apply a light coating of fresh oil to the new filter’s gasket for a tight seal.
Next, we screw the new filter on by hand until it touches the engine. Then, we tighten it another three-quarters of a turn. This careful step ensures the system is ready for new oil.
Adding New Engine Oil
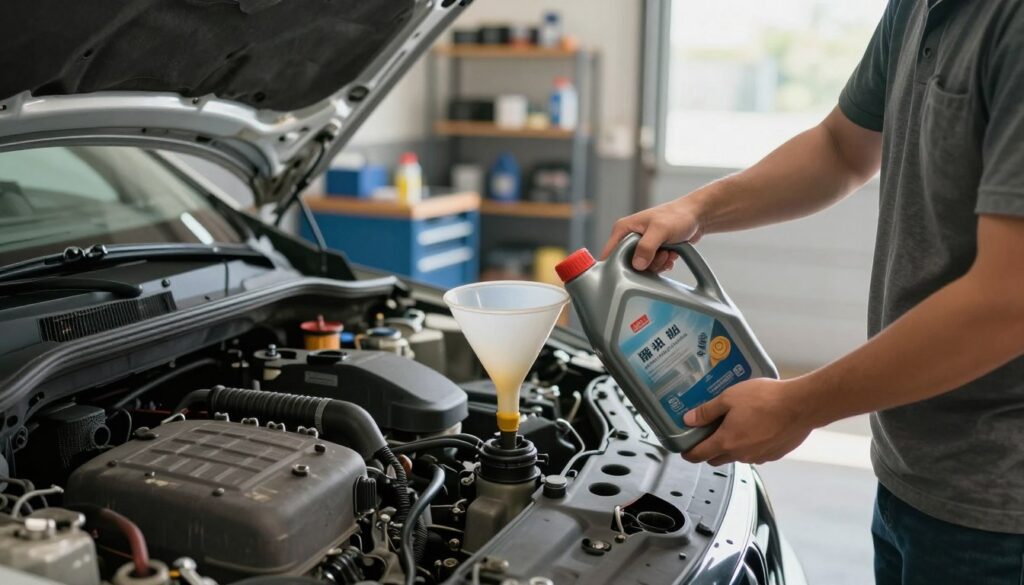
Adding fresh lubricant is the most rewarding part of performing a car oil change process at home. Once the drain plug is tightened and the new filter is installed, your engine is ready for its new supply of oil. This final step ensures that your vehicle remains protected against friction and heat.
Selecting the Right Type of Oil
Choosing the correct oil is vital for engine health. Always check your owner’s manual to find the right viscosity grade, like 5W-30 or 0W-20.
Many modern vehicles perform best with full synthetic oil. It offers superior protection in extreme temperatures. Using the wrong type can lead to poor fuel economy or engine damage over time.
How Much Oil Do We Need?
Every engine has a specific capacity that must be respected. Overfilling the crankcase can cause the oil to foam. This prevents proper lubrication and may damage internal seals.
- Check your owner’s manual for the exact oil capacity.
- Measure the oil carefully before pouring it into the engine.
- Always verify the level using the dipstick after the initial fill.
Pouring the New Oil Safely
When ready to add the oil, place a clean funnel into the oil fill port to prevent spills. Pour the manufacturer’s specified volume slowly. This allows the oil to flow into the pan without bubbling over.
After pouring, replace the oil fill cap securely. Taking your time during this part of the changing engine oil at home routine prevents messy cleanups. It ensures your engine is properly lubricated for the road ahead.
Checking Oil Levels
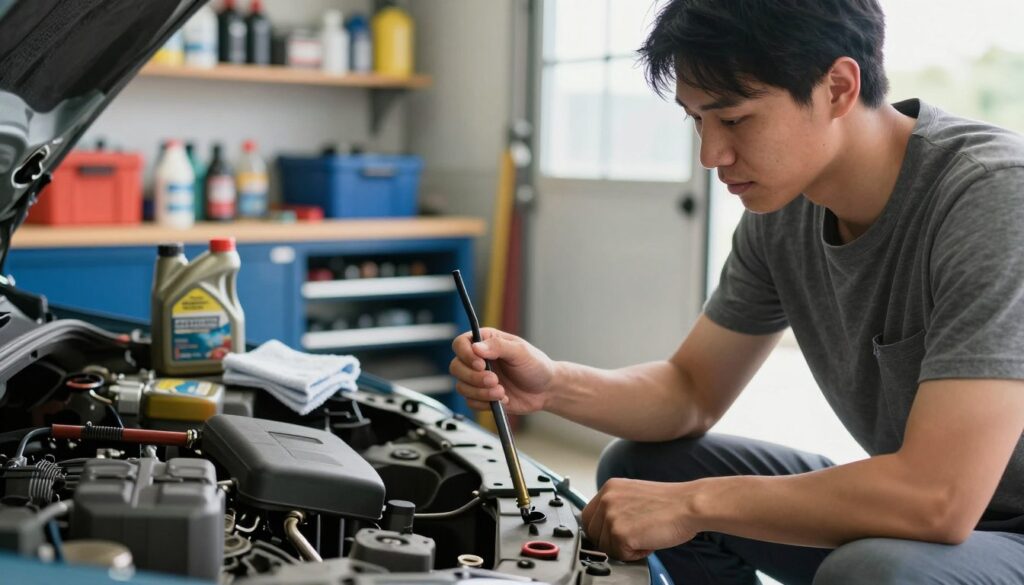
When we finish changing engine oil at home, we need to check the dipstick carefully. This step makes sure our engine has the right amount of oil. Without it, our engine might suffer damage or stress.
Using the Dipstick to Check Levels
To get an accurate reading, we first find the dipstick. It has a bright handle. We pull it out, wipe it clean, and put it back in.
After a short wait, we take it out again. We look at the oil level against the marks on the stick. The oil should be between “min” and “max”. If it’s streaky, we clean the dipstick and check again. A step-by-step guide helps us do this right.
Ensuring Proper Oil Levels
Having the right amount of oil is essential for our engine. Too little oil can cause friction and overheating. Too much oil can make the oil foam, which doesn’t cool or lubricate well.
We aim for the oil level to be at the “full” mark. If it’s low, we add oil a little at a time. We check often to avoid overfilling.
Common Mistakes to Avoid
When changing engine oil at home, don’t forget to check for leaks after starting the engine. Run it for a minute and look for drips. Also, make sure the dipstick is fully back in its housing to avoid debris.
| Condition | Visual Indicator | Recommended Action |
|---|---|---|
| Low Level | Below “Min” mark | Add oil in small increments |
| Optimal Level | Between “Min” and “Max” | No action needed |
| Overfilled | Above “Max” mark | Drain excess oil immediately |
| Contaminated | Milky or gritty texture | Flush system and replace oil |
Cleaning Up the Workspace
A clean workspace is the final step in our oil change guide. The mechanical work is done, but you must keep the environment and your safety in mind. Follow these steps to keep your garage safe and ready for future projects.
Proper Disposal of Old Oil
Used engine oil is dangerous and must be handled carefully. Never pour it down the drain or on the ground. It can harm local water supplies. Instead, put it in a sealed container and take it to a recycling center or an auto-parts store for responsible recycling.
“The greatest threat to our planet is the belief that someone else will save it.”
Cleaning Tools and Equipment
Your tools need care just like your vehicle. After finishing the oil change guide, clean your wrenches, oil filter pliers, and drain pans with a clean rag. This prevents slipping and keeps your tools in great shape for years.
Here’s a table of essential items for a clean workspace after maintenance:
| Equipment | Cleaning Method | Storage Tip |
|---|---|---|
| Drain Pan | Degreaser and water | Store upright |
| Wrenches | Wipe with shop towel | Toolbox drawer |
| Funnel | Soap and warm water | Seal in plastic bag |
| Floor Mats | Absorbent material | Keep dry |
Maintaining a Safe Work Area
A messy garage is dangerous. After finishing, check the floor for oil droplets and clean them up right away. Safety is key, so make sure all containers are labeled and kept away from heat or flames.
Keeping your area organized makes future maintenance easier. Taking a few minutes to clean up shows you’re a skilled mechanic. A well-kept workspace means better work on your vehicle.
FAQs on Changing Engine Oil
Our oil change guide helps answer common questions for car owners. Keeping your engine in good shape is more than just occasional checks. It’s about knowing what your car needs.
How Often Should We Change Oil?
How often you need to change your oil depends on your car’s age and oil type. Older cars might need oil every 3,000 miles. But, newer cars with synthetic oil can go up to 15,000 miles without needing a change.
Always check your car’s manual for the best oil change schedule. Sticking to the manufacturer’s advice is the best way to keep your engine running smoothly.
What If We Overfill the Engine Oil?
Too much oil is as bad as too little. It can cause the oil to foam, which stops it from protecting your engine properly.
This can harm seals and gaskets, leading to leaks. If you think you’ve added too much oil, drain it right away to keep your engine safe.
Signs That Oil Needs Changing
Your car will give you hints when the oil is getting old. Look for oil that’s darker or grittier on the dipstick. Also, listen for a constant ticking sound from the engine.
“Regular maintenance is the single most important factor in extending the life of your vehicle and ensuring optimal performance on the road.”
If the oil pressure light flickers on your dashboard, don’t ignore it. With this oil change guide, you can catch these problems early and avoid expensive repairs.
| Oil Type | Typical Interval (Miles) | Best For |
|---|---|---|
| Conventional | 3,000 – 5,000 | Older Vehicles |
| Synthetic Blend | 5,000 – 7,500 | Standard Commuting |
| Full Synthetic | 7,500 – 15,000 | High-Performance Engines |
Troubleshooting Common Issues
Even with the best planning, DIY car maintenance can sometimes go wrong. Minor problems can pop up after you’re done. But, by staying calm and methodical, you can find and fix the issue fast. This keeps your car running smoothly.
Leaking Oil After Change
If you see oil on your driveway, stop the engine right away to avoid damage. A loose drain plug or a bad oil filter gasket is usually the cause. Make sure the plug is tight and the old filter gasket didn’t stick to the engine.
For a refresher on how to change your oil, check out our step-by-step guide. Double-checking these areas usually fixes the leak.
Unusual Noises from the Engine
Strange sounds after a service can be scary, but they’re often easy to fix. If you hear ticking or knocking, check the oil level. Low oil levels can make the engine loud because it’s not well-lubricated.
Also, make sure everything is tightened well. A loose splash guard or an oil filter housing that’s not secure can vibrate and make noise. A quick look under the car usually solves these problems.
Oil Light on Dashboard
The oil pressure light staying on after DIY car maintenance is a warning you can’t ignore. First, check the oil level with the dipstick to make sure it’s right. If it is, the problem might be a bad oil pressure sensor or air trapped in the system.
In some cars, the maintenance light needs to be reset manually after an oil change. Check your owner’s manual to see if your car needs this. If the light keeps on, it’s best to get a mechanic to check for any pump problems.
Benefits of Regular Oil Changes
Regular car care brings many benefits beyond the garage. By doing DIY car maintenance, we save money and protect our vehicle’s heart. Clean oil shields every part, making sure they work right.
Improving Engine Performance
Fresh oil is key for engine power. Old oil can’t lubricate well, causing parts to rub together. Replacing it makes the engine run smoother and more efficiently.
This helps the engine perform better. It accelerates faster and works well under different conditions. Regular care keeps your car running at its best.
Enhancing Vehicle Longevity
Regular DIY car maintenance makes your engine last longer. Parts like pistons and bearings wear out without clean oil. Clean oil keeps them in great shape for years.
Doing these tasks prevents big problems. A well-maintained car goes further without needing expensive fixes. It’s a smart way to protect your investment.
Environmental Benefits
Good engine care also helps the environment. An efficient engine uses less fuel, which means fewer emissions. Plus, we can recycle old oil properly.
Recycling oil keeps our soil and water clean. By keeping up with maintenance, we help the planet and extend our car’s life. Here’s how regular oil care benefits us all.
| Benefit Category | Impact on Engine | Long-term Result |
|---|---|---|
| Performance | Reduced Friction | Better Fuel Economy |
| Longevity | Less Component Wear | Higher Resale Value |
| Environment | Lower Emissions | Reduced Waste |
Conclusion
By taking care of your car, you learn about its inner workings. We’ve shown you how to do a DIY oil change at home.
Reviewing the Process
This guide emphasizes the need for preparation and accuracy. Choosing the right tools and managing fluids well keeps your engine running smoothly.
Building Confidence in Your Skills
Doing a DIY oil change saves you money and gives you peace of mind. With practice, it becomes a simple task that keeps your car in great shape.
Commitment to Engine Health
Regular maintenance is key to a long-lasting vehicle. Keep your workspace tidy and use these methods to maintain your engine. Your car will run perfectly on every trip.
FAQ
How often should we perform an engine oil change tutorial at home to ensure maximum engine health?
Check your car’s manual for service intervals. Modern synthetic oils let us go up to 7,500 miles between changes. Regular oil changes prevent sludge and wear.
What are the primary signs that indicate our vehicle requires an immediate engine oil replacement?
Look for dark oil, engine knocking, or the oil pressure light. A burnt oil smell means it’s time for a change to avoid engine damage.
Why is it beneficial for us to choose a DIY oil change over visiting a commercial lube shop?
DIY saves money and ensures quality materials. It also lets us check for other car issues, making maintenance more thorough.
What should we do if we accidentally overfill the reservoir during our engine oil change tutorial?
Overfilling can cause oil foaming. If the level is too high, drain it to avoid pressure and seal damage.
How do we properly dispose of the old fluids after completing the car oil change process?
Collect used oil in a sealed container and take it to a recycling center or auto parts store. They accept it for free.
What type of oil filter should we select when we are changing engine oil at home?
Choose a filter that meets OEM specs. High-efficiency filters like Bosch or Purolator keep oil flowing well.
What steps should we take if we notice a leak after finishing our DIY car maintenance?
Check the oil drain plug and filter for tightness. Make sure the old gasket is off before installing the new one. Fixing these issues keeps your car safe and reliable.

Hi! I’m Moheen Iftikhar, the person behind «CarCruisei». I’m deeply interested in the automotive world, from new car trends and advanced vehicle technology to useful driving advice. On this platform, I publish informative car reviews, expert insights, and practical tips to keep every car enthusiast informed and inspired.


