

Car Headlight Restoration: Best Way to Clean Cloudy Car Headlights Fast
Driving at night is safer when you can see well. But, your car’s headlights can get yellowed or hazy over time. This is because of UV rays and road debris.
Keeping your car in good shape is important. A Car Headlight Restoration is key for looks and function. Fixing them early stops more damage.
Our guide shows you how to clean cloudy car headlights fast. You can use simple items at home or professional kits. We’ll help you drive better at night with these tips.
Key Takeaways
- Oxidation from UV exposure is the primary cause of lens haziness.
- Clear lenses are critical for maintaining maximum nighttime visibility.
- Regular maintenance prevents permanent damage to your vehicle’s plastic components.
- Both DIY methods and professional kits offer viable solutions for drivers.
- Restoring clarity improves both the safety and the resale value of your vehicle.
Understanding Cloudy Headlights
Many drivers notice their headlights losing clarity over time. But few understand the science behind this change. When we look at our vehicle, we often focus on the paint or the interior. Yet, the lighting system needs equal attention.
Proper Car Headlight Restoration starts with knowing how environmental factors affect car materials.
What Causes Headlight Cloudiness?
Most modern vehicles have headlight lenses made from polycarbonate plastic. This material is durable and impact-resistant. But it’s highly susceptible to oxidation from the elements.
Over time, the UV coating on the lens wears away. This leaves the plastic vulnerable to the sun’s harsh rays.
Beyond UV exposure, road debris also plays a big role. Small rocks and sand particles create tiny pits in the lens. These pits trap dirt and moisture, speeding up the yellowing process.
This makes Car Headlight Restoration a necessary task for long-term vehicle maintenance.
Signs Your Headlights Need Restoration
The most obvious sign is a hazy or frosted appearance. If the lens feels rough or looks yellowed, the protective layer has failed. This physical change shows the plastic is no longer transparent.
Another key sign is a noticeable drop in light output at night. If your headlights seem dim or cast a scattered beam, it’s time for Car Headlight Restoration. Clear lenses are essential for visibility and ensuring other drivers can see you clearly.
Why Headlight Restoration Matters
Choosing to restore car headlights is a smart move for your safety. Over time, plastic lenses get yellow and lose light. This makes driving at night much riskier.
Improved Visibility and Safety
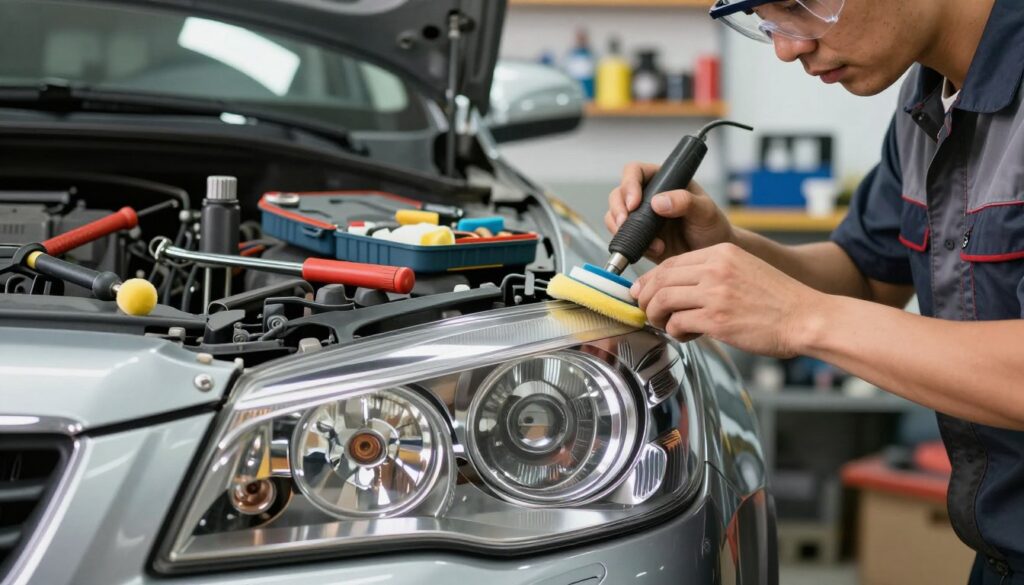
Clear headlights are key for seeing road signs and pedestrians at night. Cloudy lenses scatter light, making it hard to see. This can cause accidents, even in good weather.
By restoring car headlights, you keep your car safe. It’s as important as changing windshield wiper blades. Clear lights help you spot dangers quickly.
Enhancing Vehicle Aesthetics
Clear lenses also make your car look better. Yellowed headlights can make your car seem old and neglected. A clean look can make your car seem newer.
Here are the main benefits of keeping headlights in good shape:
- Increased resale value by keeping the car looking good.
- Enhanced curb appeal that shows you care about your car.
- Better light projection for safer driving.
Keeping your car’s headlights clean is easy and important. A clear lens shows your car is well-kept and stands out.
DIY Headlight Restoration Methods
We’ve found the best ways to fix headlight oxidation at home. Learning diy headlight restoration saves money and keeps your car safe. These methods are great for minor yellowing or moderate haze, making your headlights shine without a pro.
Using Toothpaste for Quick Fixes
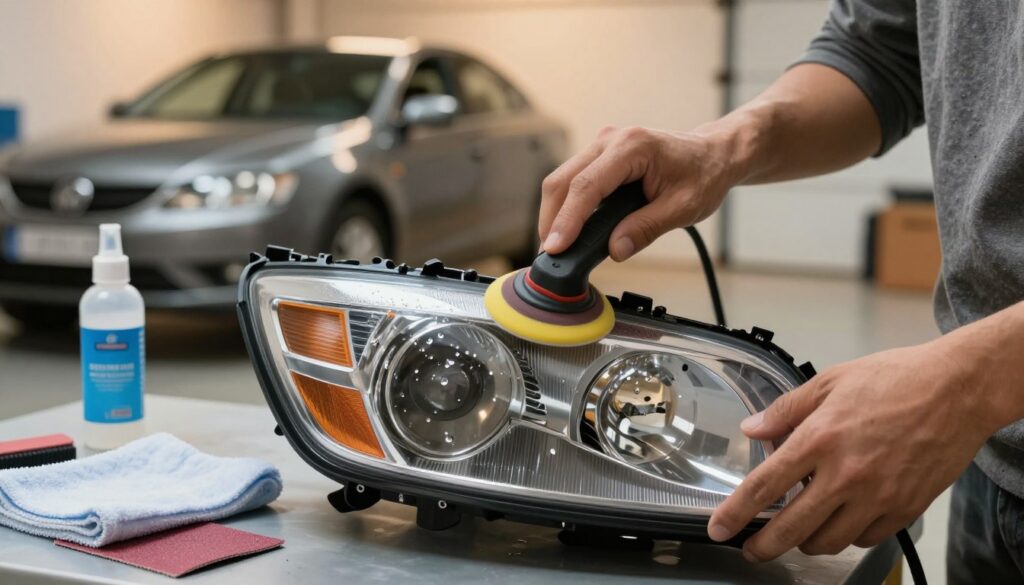
For a quick headlight restoration, try whitening toothpaste. Its mild abrasives remove surface grime and oxidation. Just put a bit on a cloth, rub in circles, and rinse well.
Baking Soda and Vinegar Solution
For a natural fix, mix baking soda and vinegar. This combo is a strong headlight cleaning solution. It’s good for lifting tough debris. Check out our guide on clearing the check engine light without a scanner to keep your car running smoothly.
Specialized Headlight Restoration Kits
For serious oxidation, use a car headlight restoration kit. These kits have sandpaper and a UV sealant. They give a lasting fix that guards against future damage.
| Method | Best For | Difficulty | Cost |
|---|---|---|---|
| Toothpaste | Light Haze | Very Easy | Low |
| Baking Soda | Surface Grime | Easy | Low |
| Restoration Kit | Heavy Oxidation | Moderate | Medium |
When to Seek Professional Help
Not all damage to your car’s lights can be fixed with a DIY kit. While we often suggest trying to restore car headlights yourself, some problems need a pro’s touch. Knowing when to stop DIY efforts can save you time and frustration.
Recognizing Severe Damage
Not all cloudiness is the same. If you see deep cracks, spider-webbing, or moisture inside the lens, simple polishing won’t work. These signs mean the headlight’s seal is broken.
Internal condensation is a big warning sign of a housing problem. Before buying a car, it’s smart to check the vehicle history for accidents that might have damaged the headlight seals. Look for these severe damage signs:
- Deep, rough cracks that catch your fingernail.
- Persistent water droplets or fogging inside the lens.
- Yellowing that remains visible even after thorough sanding.
- Significant pitting from road debris and gravel.
Benefits of Professional Restoration
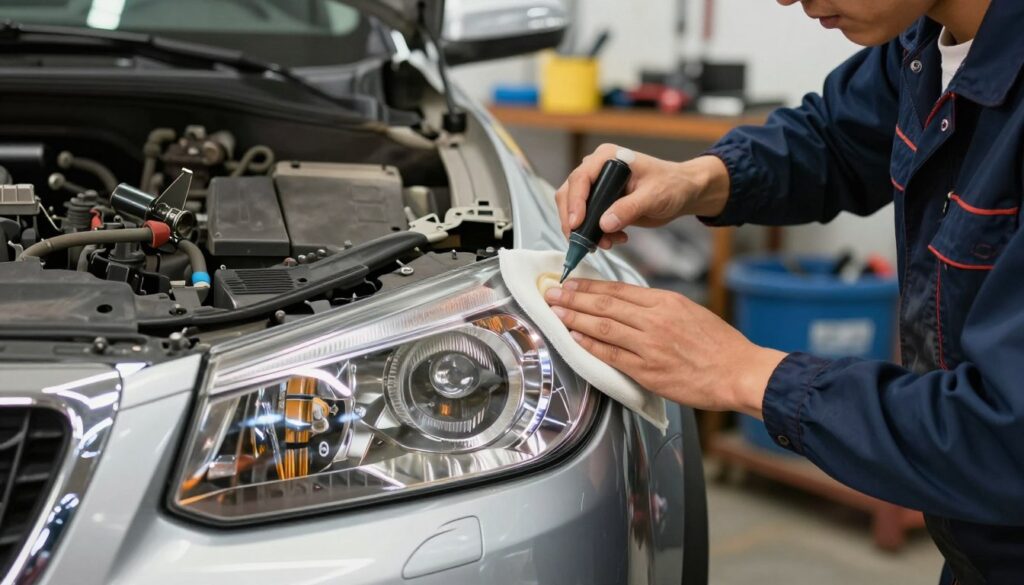
Professional shops have tools you can’t buy. They use high-speed buffers and special chemicals to remove deep oxidation. This gives your car a finish that lasts much longer than DIY fixes.
“Quality restoration is not just about aesthetics; it is about ensuring your vehicle remains safe and visible to others on the road during night driving.”
Professionals also apply UV-resistant clear coats that protect against sun damage. Choosing to have a pro restore car headlights means investing in lasting clarity and safety. This can be more cost-effective than replacing expensive headlight assemblies.
Preparing for Restoration
Getting professional results starts with careful preparation and the right tools. Before starting, clear a dedicated workspace around your vehicle. This ensures you can move freely and have everything within reach.
For a detailed approach, check out this DIY guide on cleaning foggy headlights. A high-quality car headlight restoration kit makes the process easier. It comes with most of the necessary abrasives and polishing compounds.
Necessary Tools and Supplies
To get a crystal-clear finish, gather specific items first. You’ll need a car headlight restoration kit, several clean microfiber cloths, and high-quality masking tape. The masking tape protects the paint around your headlight from scratches.
Keep a spray bottle filled with water nearby for sanding. Clean water prevents plastic dust buildup and ensures a smooth finish. Here’s a quick checklist of items to prepare before starting.
| Item | Purpose | Importance |
|---|---|---|
| Masking Tape | Protecting paint | High |
| Microfiber Cloths | Cleaning/Polishing | High |
| Restoration Kit | Surface renewal | Essential |
| Spray Bottle | Lubrication | Medium |
Safety Precautions to Take
Safety is key when working on your vehicle. Always do the restoration in a shaded area to avoid streaks. Wear safety glasses to protect your eyes from debris or chemical splashes.
Apply masking tape carefully to the edges of your headlights. This step prevents damage to your car’s clear coat. By following these precautions, you protect your vehicle’s finish and achieve the best results.
Step-by-Step Headlight Restoration Guide
We can help you make dull, yellowed lenses clear again with this easy guide. If you want to clean cloudy car headlights fast, a clear plan is key. It helps you get the best results without harming your car’s paint. These steps will make your car safer and look better.
Cleaning the Headlight Surface
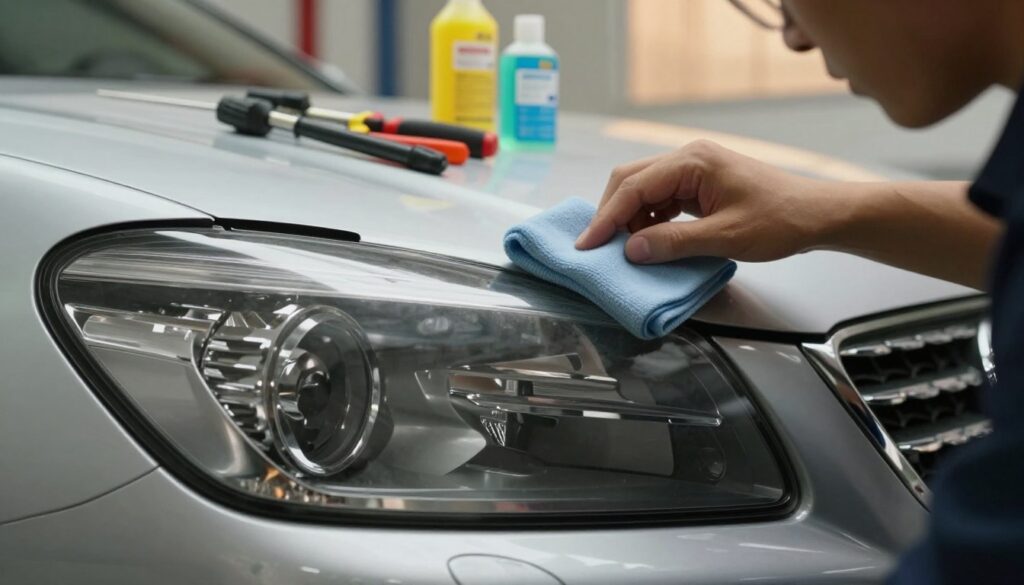
First, remove dirt and grime from the surface. Start by washing it with mild soap and water. This makes sure the lens is clean of loose dirt. Proper preparation is the first step to a successful restoration.
After cleaning, dry the area with a microfiber cloth. For more tips, check our DIY guide on cleaning foggy headlights. Use painter’s tape to protect the paint around the headlight.
Applying the Restoration Solution
Now, it’s time to use your headlight cleaning solution. Put a small amount on the lens or a polishing pad. Move in circular motions to cover the whole area evenly.
If the oxidation is deep, apply more pressure while scrubbing. Keep going until the cloudiness starts to clear. Always follow the product’s instructions for the best results.
Final Touches for a Clear Finish
After polishing, clean off any leftover residue with a damp cloth. Check the lens under bright light for streaks or spots. If it looks good, apply a protective sealant.
Choose high-quality headlight restoration products with UV protection for long-lasting results. This final layer protects against environmental damage and prevents yellowing. By following these steps, your headlights will stay bright and functional for a long time.
Maintenance Tips for Clear Headlights
We think keeping your headlights in top shape is as important as making them look new. After you’ve made them shine like new, it’s key to keep up a regular cleaning routine. This way, your headlights will stay clear for a long time.
Regular Cleaning Practices
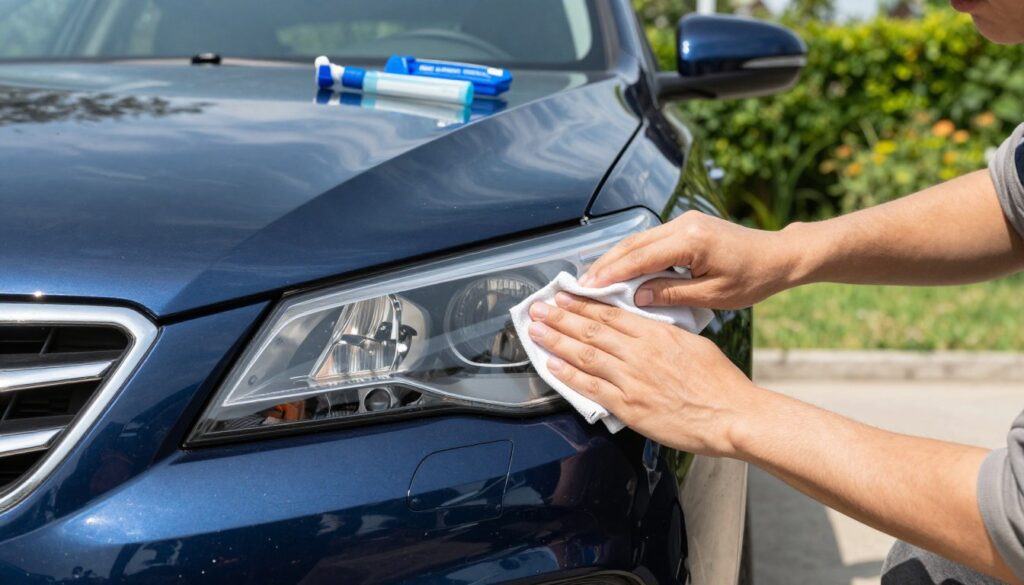
To clean your car’s headlights well, use mild soap and a soft cloth. Don’t use rough sponges or strong cleaners, as they can damage the plastic. Wash your headlights every time you wash your car to get rid of dirt and bugs.
For light dust or bug splatters, just wipe the lenses with a damp cloth. Keeping them clean stops dirt from building up and causing cloudiness. Staying consistent is the best way to keep your headlights clear.
Protecting Headlights from UV Damage
UV rays are the biggest threat to clear headlights. To fight this, apply a UV-protective sealant every few months. This creates a strong shield that blocks UV rays and prevents yellowing.
Try to park in a garage or shaded area to reduce sun damage. These simple habits help keep your car looking good and safe:
| Maintenance Task | Frequency | Recommended Tool |
|---|---|---|
| Gentle Surface Wash | Weekly | Microfiber Cloth |
| UV Sealant Application | Every 3 Months | UV-Blocking Wax |
| Deep Inspection | Monthly | Flashlight |
By following these headlight restoration tips, you can keep your car in great shape. A bit of work now saves you from needing a full restoration later. Stay on top of maintenance for better visibility at night.
Common Mistakes to Avoid
Getting professional results at home is not just about the tools. Even with top-notch supplies, mistakes can happen. These errors can ruin your finish or harm your vehicle. Knowing these common pitfalls helps keep your diy headlight restoration on track.
Overlooking Safety Measures
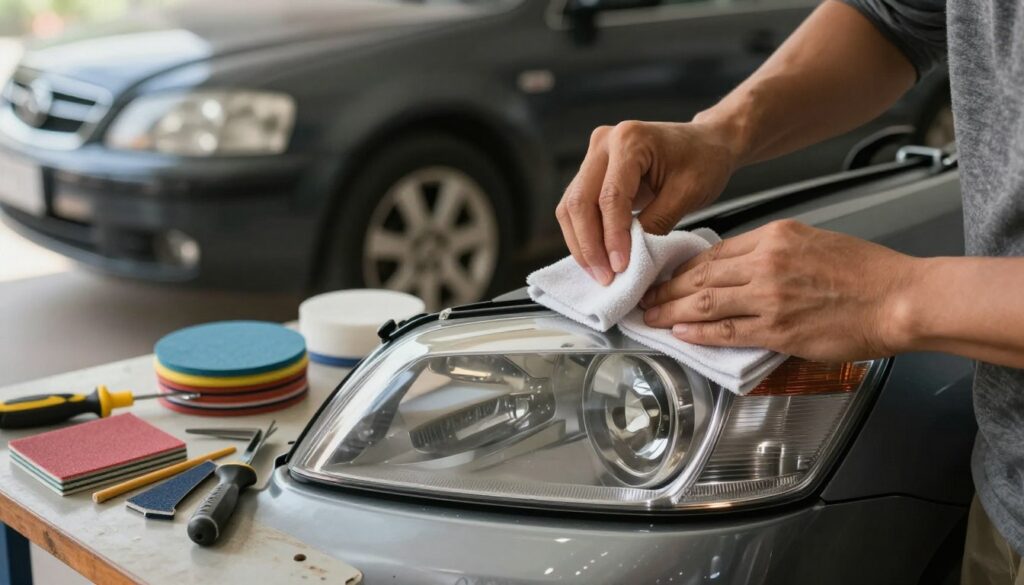
Many overlook basic safety when focusing on lens clarity. Chemicals and abrasive materials can harm your skin or eyes. Always wear protective gloves and safety glasses to avoid accidents.
Also, work in a well-ventilated area. When sanding with a power drill, keep your hands away from the spinning parts. Remember, your safety is as important as your car’s look.
Skipping Prep Work
Rushing into sanding without prep is a common mistake. Not masking the paint around the headlight can scratch your car’s finish. Applying painter’s tape is key to a successful diy headlight restoration.
Not cleaning the surface well before starting can trap dirt. This leads to deep scratches that are hard to fix. Always clean the area with soap and water before starting your restoration.
Conclusion: Enjoying Clear, Bright Headlights
Clear headlights are key to your car’s safety. They help you see better at night and make your car more valuable.
The Value of Proactive Maintenance
Doing a quick headlight restoration makes driving safer. It keeps your path lit in the dark or rain. Regular care also stops damage to the lenses.
Taking Charge of Your Vehicle Care
Try these tips to keep your headlights shining. You can get great results with a little time and effort. Start now for a safer, nicer drive every time.
What is the absolute best way to clean car headlights for a long-lasting result?
Use a high-quality headlight restoration kit. Kits like the Sylvania Headlight Restoration Kit provide a lasting finish.
Are there any specific headlight restoration tips for beginners?
Keep sandpaper wet to avoid heat damage. Use 3M masking tape to protect the paint.
Which headlight restoration products do professionals recommend?
Professionals like Meguiar’s Heavy Duty Headlight Restoration Kit or 3M products. Cerakote Ceramic is great for UV protection.
Can a DIY headlight restoration really work as well as a pro service?
Yes, with the right steps. DIY can get you 90-95% of pro results at a lower cost.
How often should I apply a UV protectant to my restored lenses?
Apply UV-protectant spray like Meguiar’s Keep Clear Headlight Coating every three to six months. This keeps your headlights clear.

Hi! I’m Moheen Iftikhar, the person behind «CarCruisei». I’m deeply interested in the automotive world, from new car trends and advanced vehicle technology to useful driving advice. On this platform, I publish informative car reviews, expert insights, and practical tips to keep every car enthusiast informed and inspired.